 English
-
 English
 -
 Español
 -
 Português
 -
 русский
 -
 Français
 -
 日本語
日本語 -
 Deutsch
 -
 tiếng Việt
 -
 Italiano
 -
 Nederlands
 -
 ภาษาไทย
 -
 Polski
 -
 한국어
한국어 -
 Svenska
 -
 magyar
 -
 Malay
Malay -
 বাংলা ভাষার
 -
 Dansk
Dansk -
 Suomi
Suomi -
 हिन्दी
 -
 Pilipino
 -
 Türkçe
 -
 Gaeilge
 -
 العربية
 -
 Indonesia
 -
 Norsk
Norsk -
 تمل
تمل -
 český
český -
 ελληνικά
 -
 український
 -
 Javanese
 -
 فارسی
فارسی -
 தமிழ்
தமிழ் -
 తెలుగు
 -
 नेपाली
 -
 Burmese
 -
 български
 -
 ລາວ
ລາວ -
 Latine
 -
 Қазақша
 -
 Euskal
 -
 Azərbaycan
 -
 Slovenský jazyk
 -
 Македонски
 -
 Lietuvos
 -
 Eesti Keel
 -
 Română
 -
 Slovenski
 -
 मराठी
मराठी -
 Srpski језик
To make good looking nails at home, you need to prepare these tools
2021-11-11
All year round, when nails are just a little longer, there will be an urge to do nails. A good-looking and high-quality nail can be worth the cost of a meal, and most of the time, it is just a few days after the nail is done, and the nail is accidentally scratched out.
It is also possible that after a few days, there will be no freshness, and in the spare time, I will pick my nails in a mess.
This kind of time must be distressed, and I secretly thought that I will never do nails again next time, but I can't escape the "true fragrance" law.
In fact, if you want to do nails, you don’t need to go to a nail shop. You can prepare your own tools at home. You can do it yourself every time you want to do nails. Although the initial tool preparation will be more expensive than going out to do a nail, but after a few times, you will find a lot of savings. And you can do styling according to your own preferences, and the nail polish you buy is also guaranteed.
It is also a pleasure to ask your girlfriends to draw some nice nails together when there is nothing wrong.
So what is the basic process of making nail art at home? What tools do I need to prepare?
1. Nail cleaning
Preparation tools: nail file, steel push, dead skin fork, sponge rub, dust brush
Before applying a good-looking nail polish, you must clean up your nails. Just like between makeup, you must also make sure that your face is clean. Not only can you better show your makeup, but it is also not easy to take off. .
First, you need to use a nail file to fix the nail shape you like, which is generally round and oval, while French manicure has straight nail edges. When using the nail file, pay attention, and repair it gently and slowly, but don't damage your nails because you are impatient.
After fixing the nail shape, use steel to remove the dead skin on the nail cover from the outside to the inside. If there is dead skin on the edge of the nail, remove it with a fork.
Then use a sponge to polish the nail surface, remember to polish the corners and corners in place to ensure the beauty of the nail. The dust left by grinding is easily and cleanly removed by the dust brush.
2. Nail polish
Preparation tools: base glue, phototherapy machine, color glue, reinforcing glue, non-washing sealant
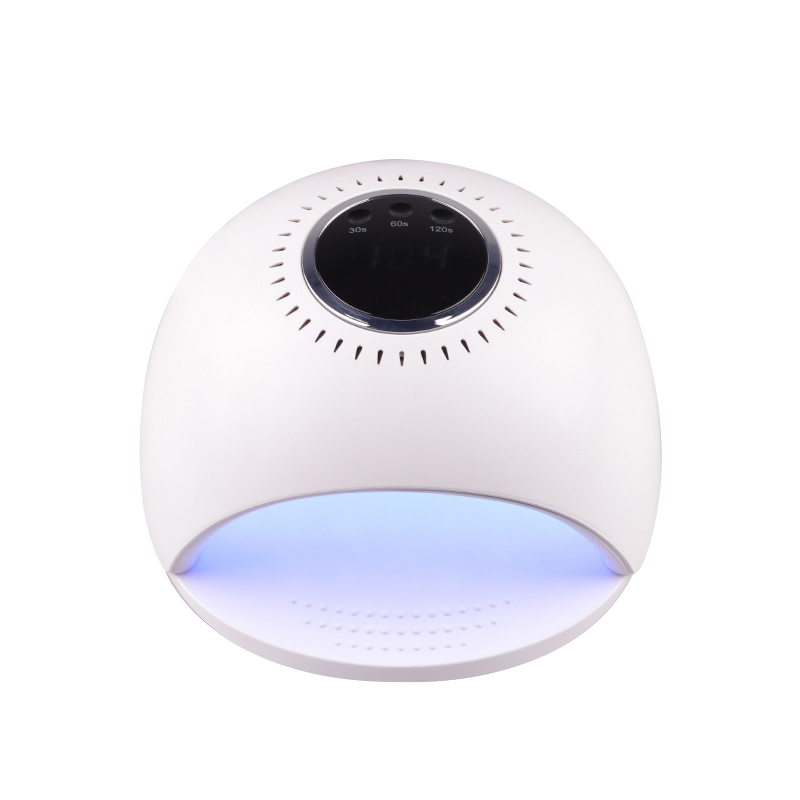
Once the nails have been cleaned up, they start to paint nice colors. Before painting, the first step is to apply primer. The primer only needs a thin layer. Be careful not to apply it to the skin. After applying the primer, use a phototherapy machine to bake, and then there will be a baking step. During this period, do not touch your nails with your hands.
About two minutes or so, after the primer is dry, start to apply the color glue and choose the color you like. Just like the primer, apply a thin layer, and then stretch it into the phototherapy machine for baking. After this step is repeated 2-3 times, the color of the nails will become full and beautiful.
After applying the color glue, start to apply the reinforcing glue, and then continue to bake for 2 minutes. Reinforcing glue thickens the nail thickness and has the effect of preventing falling off.
Finally, a thin no-wash seal layer is applied, and the original frosted nails instantly become very shiny, and it also avoids the damage of the nails caused by usual hand washing.
3. Decorative nails
Preparation tools: drill pen, nail polish, glue, diamonds, florets, trinkets
The above is the way to make solid-color nails. If you want to paint a nice pattern on your nails and light a shiny diamond, then you need to do these tasks after applying the color glue.
First, you need to prepare a drill pen, dip the tip of the pen with a little water, and fix the diamonds, small dried flowers or small personalized decorative patterns in the position you think looks good. If you want to paint yourself, you must prepare nail polish or paint glue in advance, and use the tip of a drill pen to draw (a toothpick can also replace the drill pen).
A beautiful nail is completed through my own efforts! The effect will actually be good.

Previous:Eight Steps of Nail Basic Teaching
X
We use cookies to offer you a better browsing experience, analyze site traffic and personalize content. By using this site, you agree to our use of cookies.
Privacy Policy


